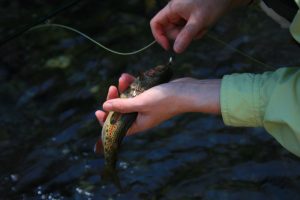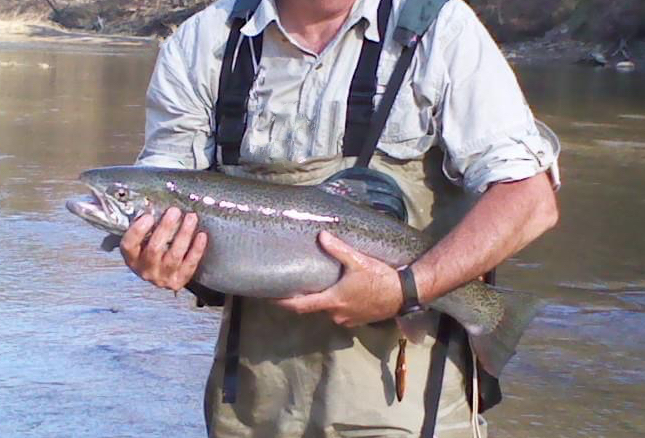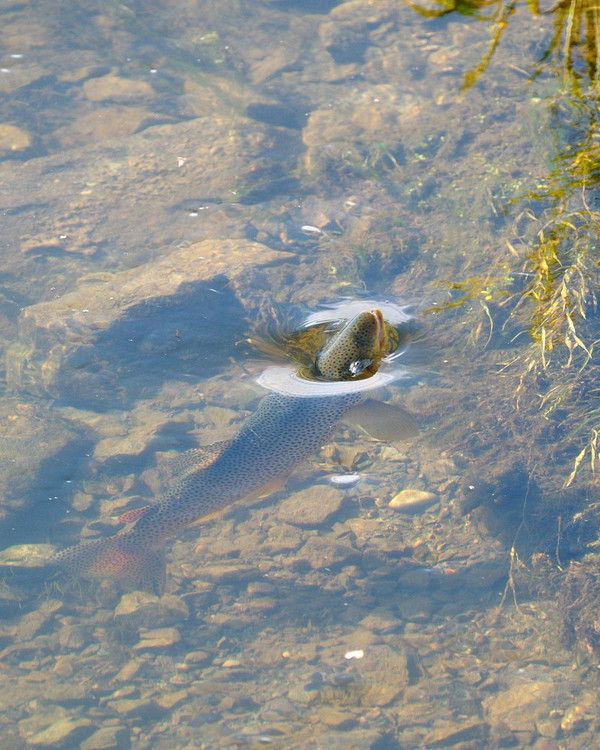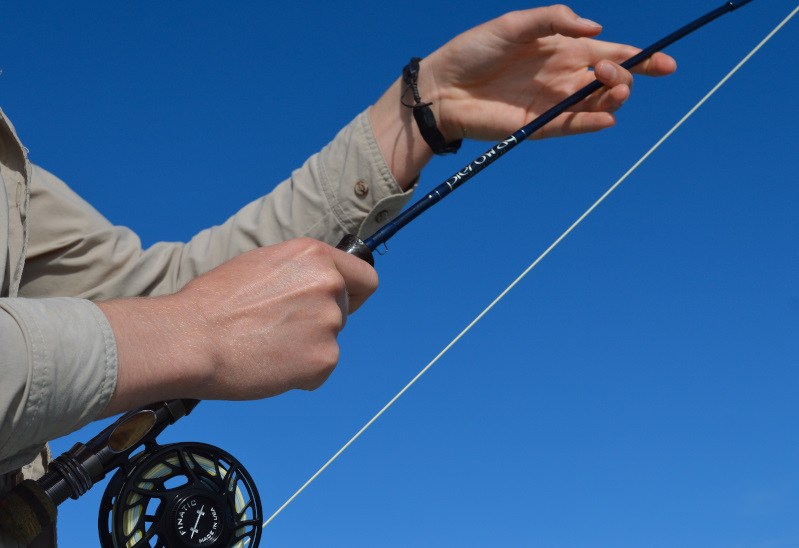
On numerous occasions I have been asked at the beginning of the day whether we’re going to be fishing dry flies or wets. But what the person usually means by “wets” is nymphs. Actual wet flies are a very specific style of fly that differ in many ways from a nymph. It’s a simple mistake that is of little consequence when chatting with your fly fishing guide. But making the same mistake when fishing on your own might be the difference in catching fish or getting skunked.
Let’s say you had the good fortune to run into another angler on the stream who tells you he clobbered them swinging a yellow wet fly. This is obviously a valuable piece of information. But if you tie on a yellow nymph and swing it through the currents, you’re likely not going to have much success. It’s kind of like assembling something and the instructions indicate that all you need is a Phillips screwdriver and you try to use a Flat Head.
Fly fishing terminology can be a bit confusing and sometimes overwhelming. However, learning this terminology will not only give you a better understanding of the sport, but will also help you better communicate with other anglers. One of the greatest sources of confusion for many is the topic of sinking flies. We’re going to ultimately focus more on wet flies, but let’s get started by listing different categories of sinking flies and what differentiates them.
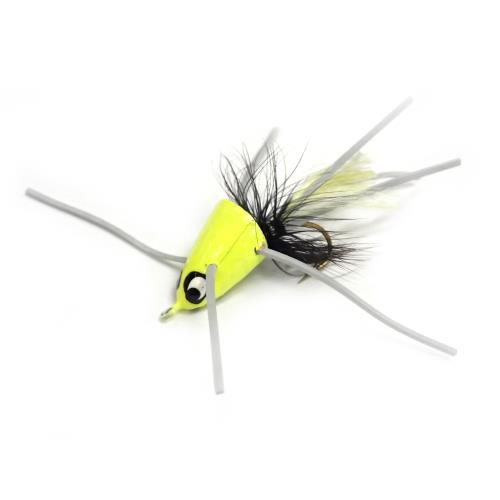
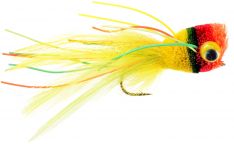
Streamers
This is probably the easiest category to define so we’ll start here. Any imitation you fish with a fly rod is just generically called a fly. However, streamers are flies that sink and imitate something that swims. Flies that imitate things like minnows, crayfish and leeches are all types of streamers.
These flies often have a long profile. They are frequently weighted with tin wire wrapped around the hook shank or a bead or cone on the head. However, some streamers are tied unweighted to be fished near the surface or to allow freedom of movement when fished on a sink tip line.
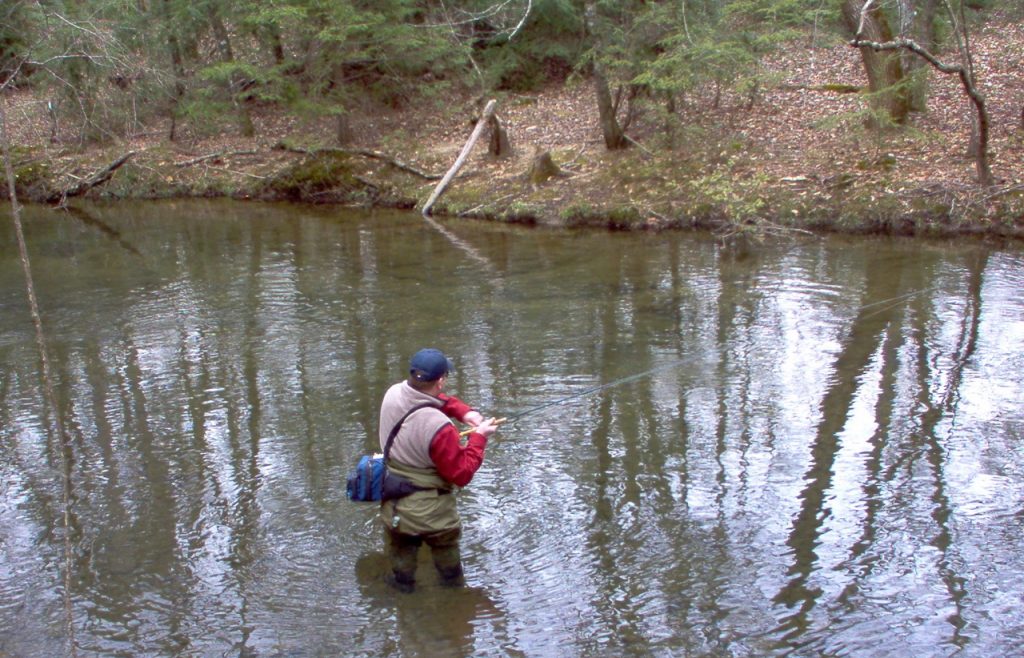
While there are always exceptions, streamers are typically fished with movement. The fly is often cast beyond a target zone and pulled through that zone by actively stripping the fly line.
Nymphs
Nymphs are usually designed to imitate the juvenile stage of an aquatic insect. However, some fly patterns get lumped into the nymph category simply because they are fished like a nymph. For instance, a Green Weenie is thought by most to imitate an inchworm that has fallen in the water, not a juvenile aquatic insect. But since it is often fished subsurface on a dead drift, it is sometimes qualified as a nymph.
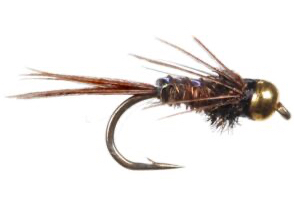
Compared to streamers, nymphs usually have a shorter, streamline profile that often tapers from a fuller thorax down to a slenderer abdomen. Many imitations, especially mayflies and stoneflies will include a tail and legs. Nymph patterns are commonly weighted by a brass or tungsten bead at the head or tin wire wrapped around the hook shank. For a variety of reasons, some nymphs may be tied unweighted, but this is not common.
As with anything, there are plenty of exceptions, but nymphs are most often fished on a dead drift near the stream bottom. This can be accomplished by suspending the nymph under a strike indicator or at close range, without an indicator using straight line nymphing tactics.
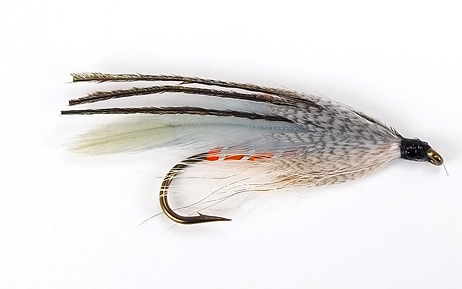
Wet Flies and Soft Hackles
This is where things get a little cloudy. Wet flies and soft hackles are technically different but are so similar we’re going to group them together. There are a rare few who will make a really big deal about you referring to a wet fly as a soft hackle or vice versa. These are typically the same people who start many of their sentences with “actually” and who will call you out in public if you end a sentence in a preposition. You know the ones.
If you spend any time at all researching the difference in wet flies and soft hackles you’re going to find a number of passionate arguments that all seem to lead you back to the same question: Now WHAT exactly is the difference? Right or wrong, I routinely use the two terms interchangeably. For the sake of simplicity, I’m going to use the term wet fly for now. Later, we can split hairs about what makes a soft hackle different.
What’s Hackle?
Let’s start by defining hackle. Hackle is a feather that is wrapped around the hook when constructing a fly. When the feather is wrapped around the hook, the individual fibers of the feather splay out. Different types of feathers and different wrapping techniques will result in different fly looks and behaviors.
Many dry fly patterns use a hackle feather from the neck of a rooster. The fibers on this feather are relatively stiff and uniform, and they don’t cling together. These features help create a buoyant fly that will float well on the water. Body feathers from many game birds like a grouse or partridge are short and soft. They cling together more and when submerged, undulate in a lively manner.
As you may have guessed, those “soft hackles” are used to construct wet flies. There is often a tail on these patterns but not always. There is a slender body constructed of floss, dubbing or a number of other materials. Sometimes there is a wing that is usually angled rearward. The soft hackle is tied in near the head, wrapped around the hook a few times and swept rearward.
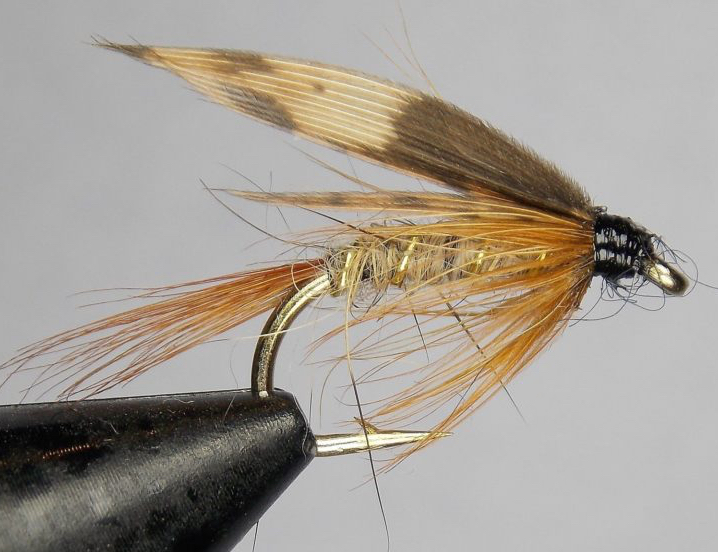
Classic wet fly patterns have no weight added. They were designed to imitate that ‘middle ground” in an aquatic insect’s life. Fished more upstream, the fly will ride in or just under the surface, suggesting a drowned adult or maybe a bug struggling to hatch. Or fished down and across, the fly will swing in a current allowing those soft hackle fibers to undulate in an enticing manner. In this situation, the fly most likely suggests an actively hatching insect.
The Difference in Wet Flies and Soft Hackles
Again, I tend to interchange the terms and don’t think much about it but for those keeping score, there are some who try to differentiate the two. And many of the people that argue there’s a difference, don’t even know what the difference is.
One writer said that the difference is how you retrieve them and went on to describe in confusing and excruciating detail the nuances of fly retrieval. That explanation just seemed like a lot of BS to me. Another person told me that the difference is wet flies have wings and soft hackles don’t. But there are some fly patterns classified as wingless wets. So that argument just raises more questions.
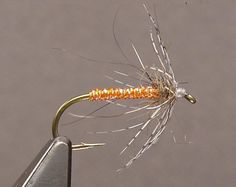
The best description I have been able to find contrasting the two is how the flies are hackled. Both styles use a soft hackle of some sort. If the fly is hackled over approximately the front quarter of the hook and it has a wing, it’s a wet fly. If it is hackled in that manner but does not have a wing, it’s a wingless wet. However, a soft hackle has no wing and a hackle sparsely wrapped just behind the eye. There is typically a “wall” of material, usually dubbing, behind the hackle that makes it stand straight up at a near 90-degree angle, rather than sweeping rearward.
Benefits of Different Hackling Styles
In theory, the strength of the wet fly style is its profile. It has a more realistic silhouette with the wing and the hackle fibers wrapped farther back on the hook look more like legs. But the denser hackle clings to itself and the hook more, allowing less movement. The strength of the soft hackle is its movement. The lack of wing and slender body serve as merely a backdrop to the hackle. By tying the hackle sparsely and at more of a 90-degree angle, the fibers have nothing to cling to and dance freely in the water.
Much of this could be considered trivial or just semantics. I completely believe in the logic behind the two different hackling styles but don’t personally find them unique enough to warrant their own fly pattern classification. I hackle some dry flies more heavily for fast water and some more sparsely for slow water, but I don’t call one a dry fly and the other a dense hackle. They’re both just called dry flies.
Again, I think it’s going to be the very rare (and probably annoying) person who is going to passionately differentiate between the two. Most of the industry, like me, will use the two terms interchangeably. For example, there is a common fly pattern called a Soft Hackle Pheasant Tail. It is not a Pheasant Tail with a hackle tied sparsely at a 90-degree angle behind the eye. It’s just a Pheasant Tail Nymph with a soft hackle.
Implementing Wet Flies
Unless you’re just into obscure trivia, the real takeaway from this article shouldn’t be the subtle difference between wet flies and soft hackles. The more important contrast is between wet flies and nymphs. Most people have a pretty good understanding of dead drifting a beadhead nymph under a strike indicator but implementing wet flies into your arsenal can make real differences on the stream.
For instance, Quill Gordon mayflies are one of the first good hatches of the year in the Smokies but they are notorious for getting off the water quickly, especially on sunny days. In other words, even though there’s a big hatch, fish aren’t getting a very good look at those adults and will often focus on the emergers. A Quill Gordon wet fly can be extremely productive during that hatch.
Fishing wet flies in pocket water when there’s no hatch can also be productive. While classic techniques like the down and across swing can work, don’t get locked into one method. Play around with different things. I frequently fish soft hackles the same way I would a nymph with a straight line method, but at the end of the drift I’ll allow the fly to swing. I catch a lot of fish on the drift and a lot on the swing. Sometimes I’ll “pump” the rod a little during the drift, causing the fly to twitch.
Are wet flies the secret weapon that will instantly and magically catch you more fish? Not necessarily, but it’s one more arrow in your quiver. Wet flies were some of the earliest flies ever devised but like many things, kind of fell out of fashion over the years. They’ve lost out to everything from dry fly purists to euronymphers. But you know what? The fish still like them.